


What We doWhat We do
What We do
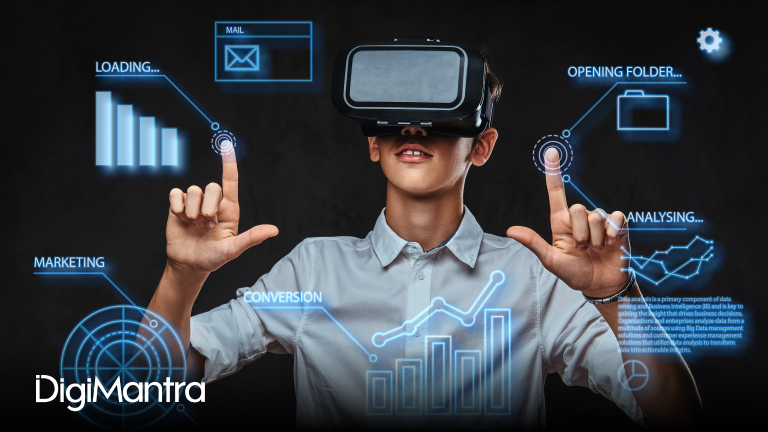
Accelerating business transformation with intelligent automation.


Fintech

Fitness & Wearables

Digital Transformation

Crypto

Gaming
Featured ProjectsFeatured Projects
Featured Projects
Learn how we are delivering cutting-edge solutions and transforming businesses.


About UsAbout Us
About Us
We empower organizations with strategic technology solutions for sustainable growth, maximum innovation.

Our History
15 YEARS OF EXCELLENCE
From a small startup to a global leader!
In just a decade, DigiMantra developed into the global leader in AI consulting, technology and outsourcing services. During this one decade, DigiMantra has retained its hard-wired love for technology, and a passion for the application of technology to solve important issues. Since 2009, all of our employees have embodied this desire to “innovate and grow.”
Our Vision
Constantly driving innovative ideas to deliver world class solutions to global corporations through the best workforce.
Our Mission
Our organization is structured to function as a cohesive, global partnership, united by a shared set of values. We are completely dedicated to fulfilling all the aspects of our mission — serving our customers with the most innovative and best technological solutions to help them create experiences for a global audience.
Our Values
Trust
At the heart of our ethos lies trust – the cornerstone of every interaction we have. We cultivate trust through transparency, reliability, and a commitment to always deliver beyond expectations.
Integrity
Integrity is not just a word for us; it's a way of life. We uphold the highest ethical standards in everything we do, ensuring that honesty and integrity guide every decision and action we take.
Innovation
Innovation fuels our passion for progress. We embrace creativity, curiosity, and forward-thinking to drive continuous improvement and push boundaries to shape a brighter future.
Accountability
We hold ourselves accountable to our commitments and responsibilities. Accountability is not just a value; it's a promise we make to ourselves and our stakeholders to deliver excellence consistently.
Our ExpertiseOur Expertise
Our Expertise
Shaping ideas to digital experiences

Digital Transformation

Digital Marketing Services

FinTech

EdTech

Retail & Logistics

HealthCare

Fitness and Wearables

E-Commerce

UI/UX

AI/ML

Crypto

BlockChain

Gaming/Gaming App Studio

DevOps

Partner Program

SAAS using AI

Data Analytics

Staff Augmentation
Digital Transformation
Digital Marketing Services
FinTech
EdTech
Retail & Logistics
HealthCare
Real Clients. Real Case Studies. Real Results. Real Clients. Real Case Studies. Real Results.
Real Clients. Real Case Studies. Real Results.
Creating the future you want - tailored to your business needs.

E-Commerce
Suscel
Suscel transforms online shopping by seamlessly blending affiliate marketing with e-commerce

Home Services
Bizzio
Bizzio streamlines management, uniting managers, owners, and members seamlessly.

Ed-Tech
Involvvely
Parents contribute, supporting teachers with insights and tools for student success.

Social
Re-Pli
Beyond an app, a seamless hub for social connection and creativity in a diverse digital space.
Our Clients Feedback Our Clients Feedback
Our Clients Feedback
Get the inside story on how we bring digital-led transformation and digitally enabled operations to businesses around the world.


David Maston
UK

Redoing our website twice in a year highlighted the stark difference between our initial experience and DigiMantra. Their excellence, professionalism, and attention to detail stood out.

Joshua Tutu
US
I can always count on them to provide top level communication on projects. Some projects have tight turnarounds and they have always come through!

Ellis Marcalis
US
They are quite professional and consider your project as the top priority. They communicate to make sure that they understand your project scope from inception.


Why Choose Us?Why Choose Us?
Why Choose Us?
Reinventing success
We invest ourselves in everything we do and aim to impact our clients and communities. We meet clients wherever they are on their paths to change—in every industry across the globe and bring transformational value to businesses by enabling societal impact and creating lasting value in every direction. Our aim is to build a future of shared success.

Meet Our TeamMeet Our Team
Meet Our Team
Creating exponential value through a cohesive approach.

Sachin Khosla
Founder & CEO


How we thinkHow we think
How we think
Explore latest insights and thought leadership from our transformation leaders on how we make businesses work better.

Apr 30, 24
In What Ways Does Machine Learning Contribute To Personalisation In Web Development?
Learn more
Apr 23, 24
What emerging technologies should businesses be aware of in the field of IT?
Learn more

Feb 06, 24
Discover the Unique Best Practices for Cross-Platform App Testing and Quality Assurance
Learn more
Jan 30, 24
How Can You Develop Augmented Reality (AR) Apps with ARCore for Android?
Learn more

Jan 23, 24
Explore the Principles and Techniques for Stunning Graphics
Learn more

Jan 16, 24
Top 10 Industry Verticals That Benefit From Software Outsourcing
Learn more